Well hello there!!! Man it’s been a while… I’ve been definitely thrown for a loop the past few months with this whole covid-19 situation, as I’m sure everybody else in the world has. And thanks to everyone being home and off school since my last post, I just haven’t had the energy to fight for my chance to sit at the computer.
Actually if I’m being frank, this whole thing has forced me to get a better, slower routine that was so much more mentally healthy! So I’m definitely thankful for it. Let’s move on though shall we?! Because if you guys are anything like me, as much as we’re all following our respective protocols, I’m kind of sick of that being the only thing to be talked about. So let’s get to the good stuff!
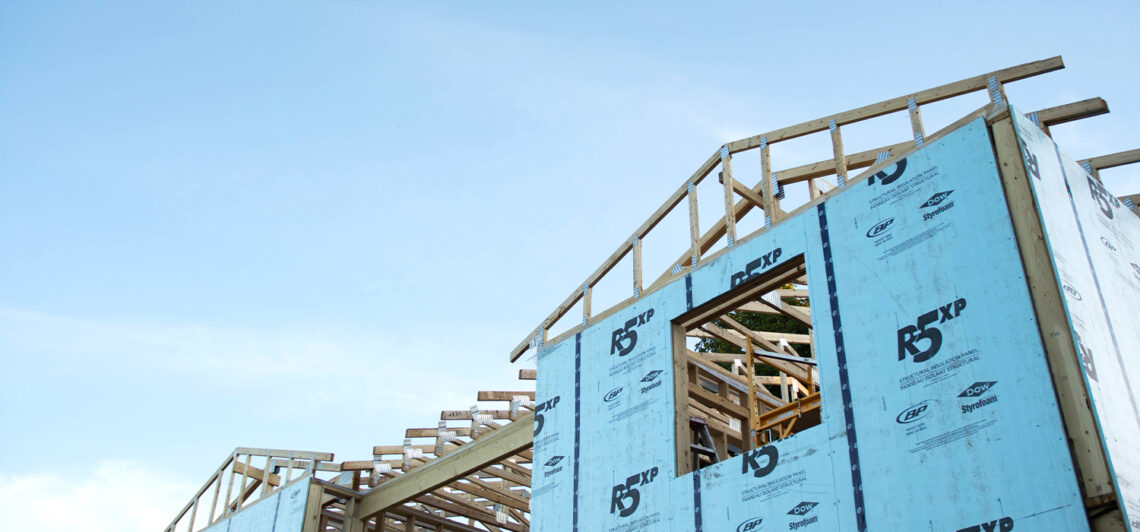
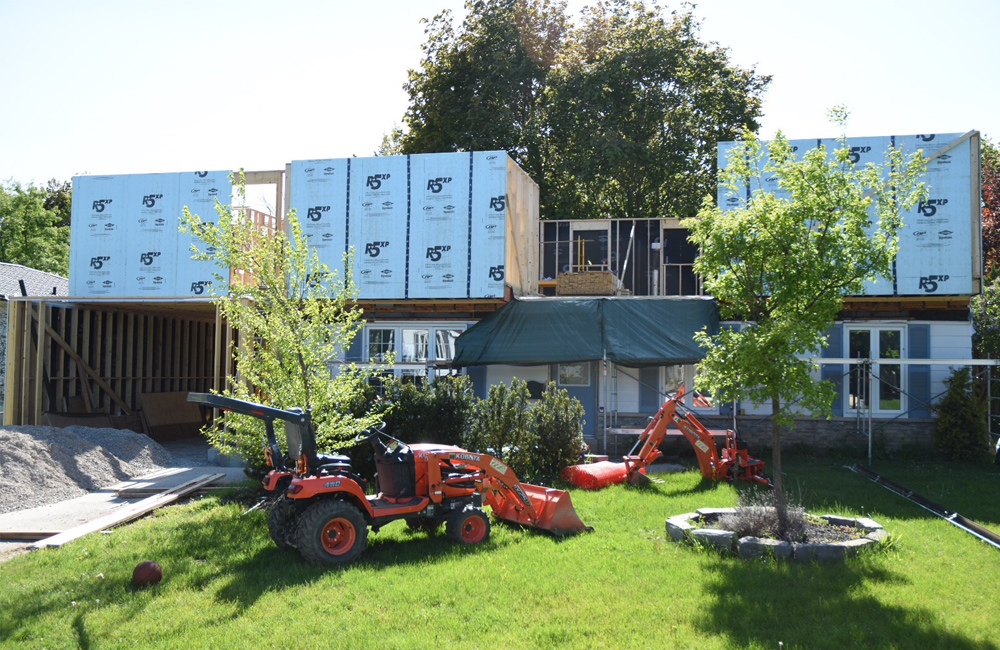
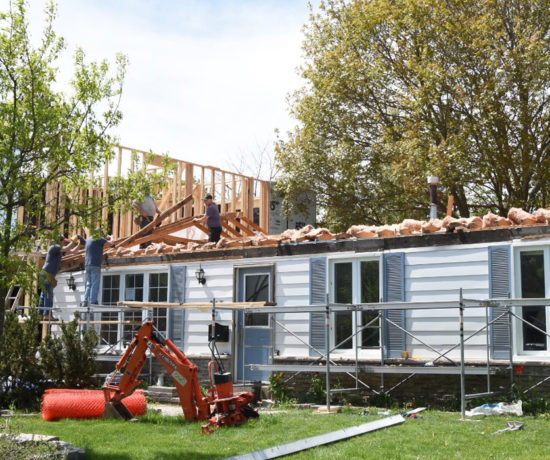
Now that I’m finally catching up, let’s lay this out… we’re now one year into our renovation. Our second floor is already on and done to the point where it’s livable and, obviously, we’re now living in it. But I still want to share the whole process with you all! When I last left off these update posts we already had the floor above the garage put up and we were just ripping the roof off. Now here we are, doing the bulk of the framing and the rough work for the second floor and the framing for the roof!!!
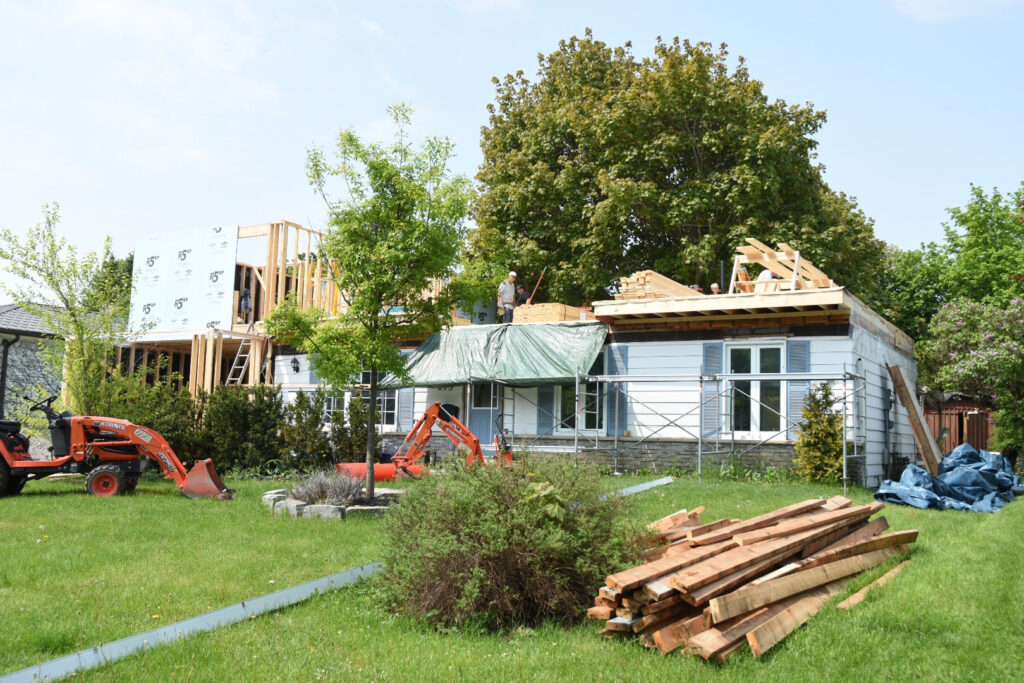
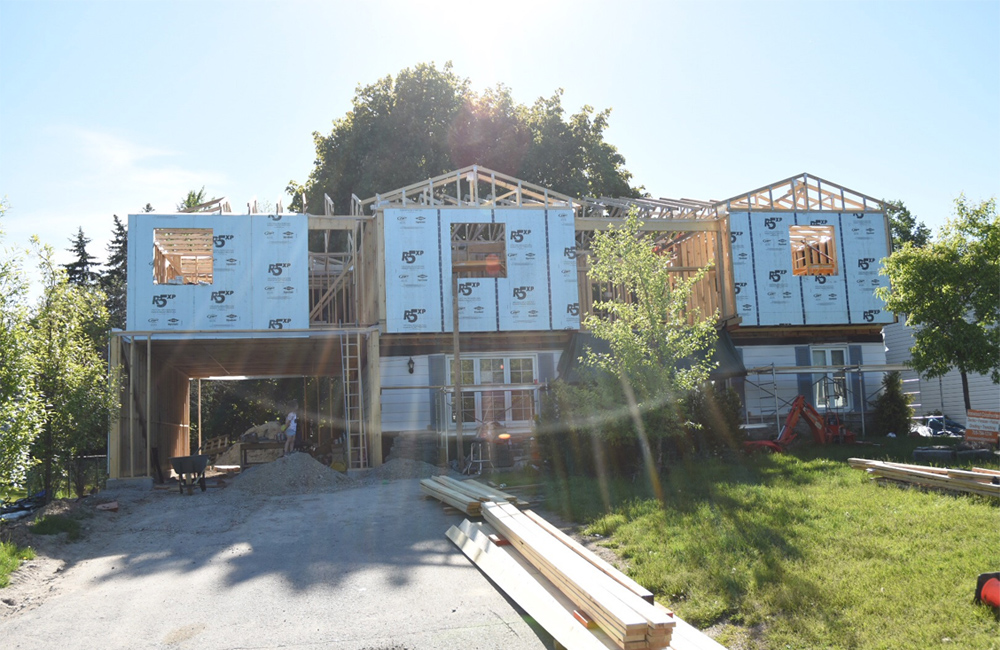
I feel like this part of the process is pretty straighforward in a sense. It’s all about building walls and putting them in the right spot. So at the point, we’re really focusing on the part of the second story that is above the existing house. We framed out and built out all the exterior walls except for the section in the middle of the front of the house, where the staircase was located and built all the interior walls after that. We also made sure to use our styrofoam sheeting at the same time, so that we wouldn’t be fiddling around with having to lift and place it on the second floor once the walls were up.
Because working around the future staircase opening would be an issue, we wound up building a support beam rather then the wall so that we could continue on with the truss delivery that came in right after we were done with the framing of the house. We always knew it would be an issue do work around this portion, but by placing a beam in place, we were able to continue the work, and we would build out the wall in place, rather then building the wall and raising it into place once it was completed. Overall, this method worked fine for us in our case, since we were able to continue on with the work. And once we had our trusses in place and our walls were all put up, we were then able to focus on building that last remaining wall by the staircase opening.
Once everything was up, we then went ahead and put up plywood and our metal roofing. I don’t have a picture of this part, but you can picture it 😉 We opted to use sheet metal roofing, which means the lengths of the sheets run along the entirety of the peak to the bottom of the roof. Only overlapping on the sides or where there are valleys/gables joining. For us, we really didn’t want to go with shingles, since we were looking for durability and something that would last a lifetime. Sheet metal roofing also tends to be on the cheaper side of your metal roofing options which was another reason we went with it, and it all honesty, we both prefer the look of the sheet metal over the metal tile roofing options that are out on the market anyways.
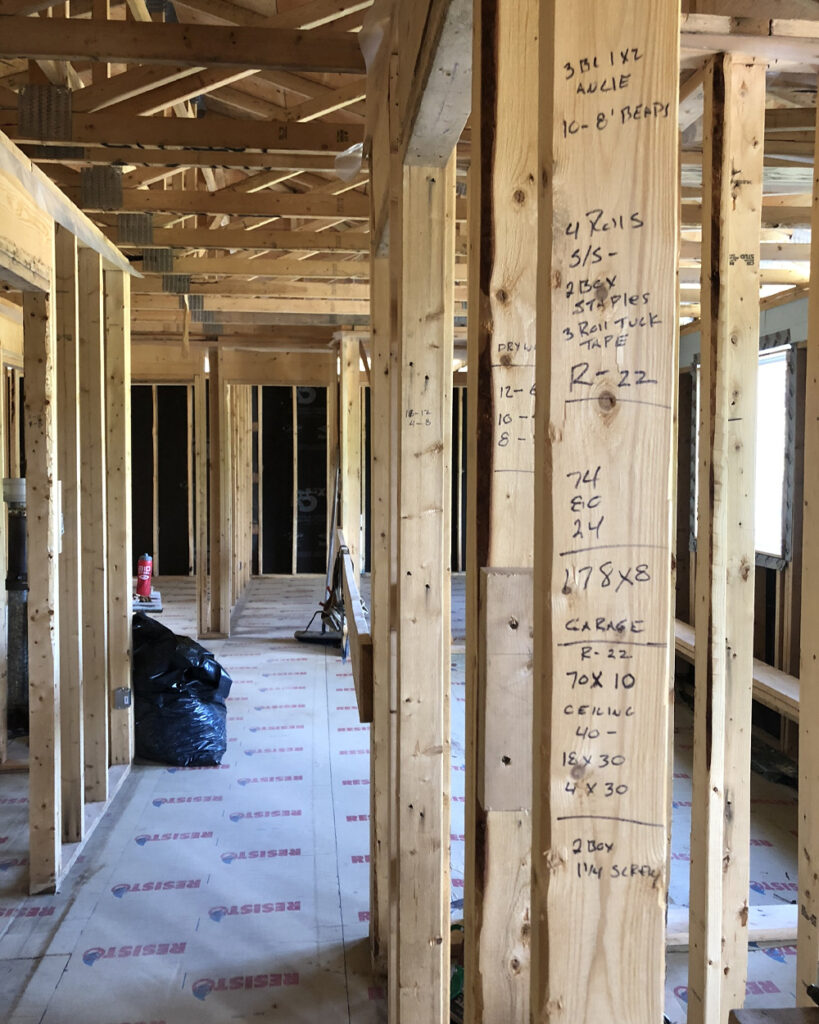
Once the roof was done, there were a lot of little details to go over, like installing our windows, roughing in for electrical, data wiring, plumbing roughins and all those little things to prep for finally closing in the upstairs and getting it ready to be opened up to the rest of the house. I again didn’t take too many pictures of this process, but let me tell you that was a lot of little things to think about. And looking back at the rough frame and at what it looks like now, I’ve definitely learned some things about placement (like light fixtures… for instance, in my laundry room, I didn’t take into account where my cupboards would be when I made the marks for placing the light fixture box). But it’s all a part of the learning process!
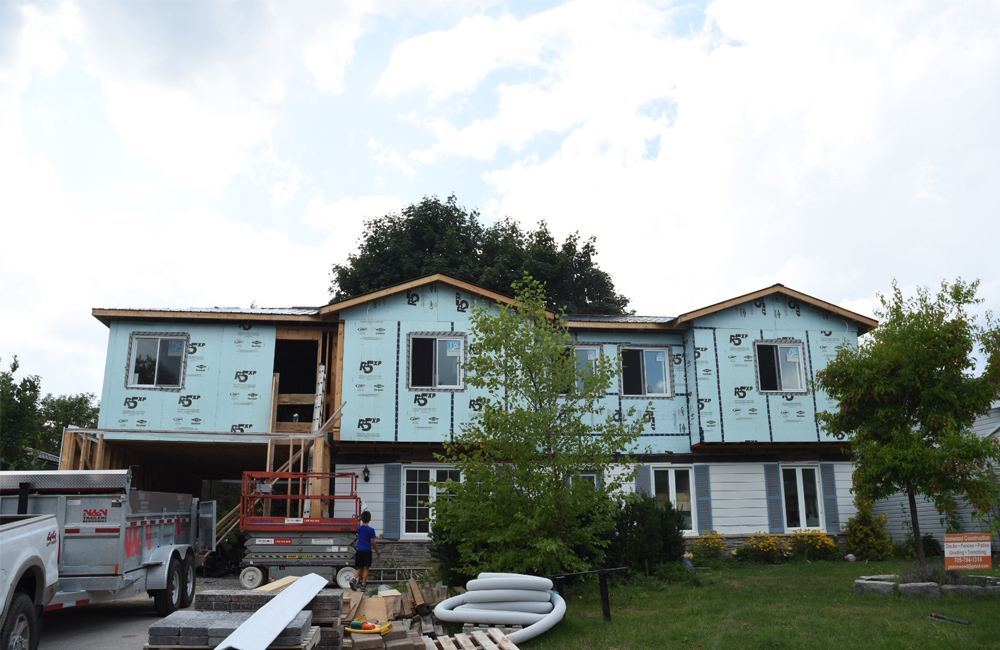
This part of the build, from tearing the roof off the house to closing it in (minus the one opening over the garage) took us approximately 2-2.5 months to complete since we were pretty busy with work on top of our own renovation. Our goal was to have the upstairs livable for the first day of school…. at this point, we were about 2 weeks away from the first day or so…. But there was still a few more (or a lot more) things to complete before we got to that point, like stairs! I’ll share more details our how we opened up the upstairs to the downstairs next week.
No Comments