As with all things, there’s a beginning…
Once we went through the process of applying for our permits, we were finally able to get started on the actual house! First up in the build process was the garage. We were beyond excited to finally get to this point! After weeks of back and forth with the city over the permit, we received the green light and were able to dig!
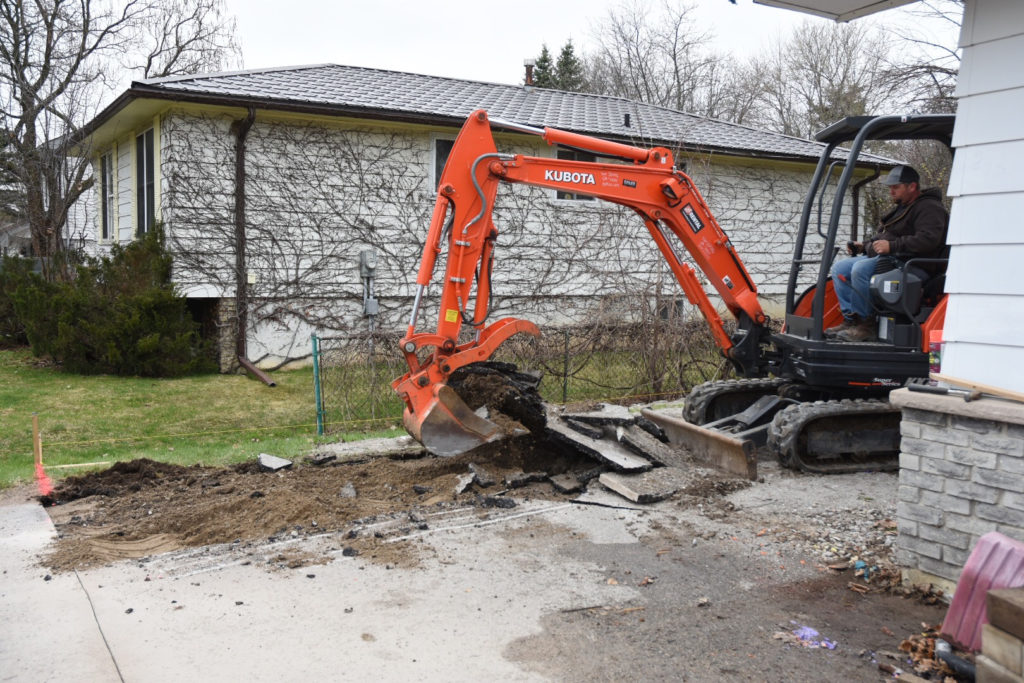
Since the new garage would extend past the original house, we knew we would be needing to cut into our driveway and clear that area first. This work was quick and easy. A quick tip, since asphalt is pretty heavy for dumping… you can contact your local asphalt contractor or aggregates company and see if they will take the clean asphalt. In our case, we were lucky and were able to drop it off that day.
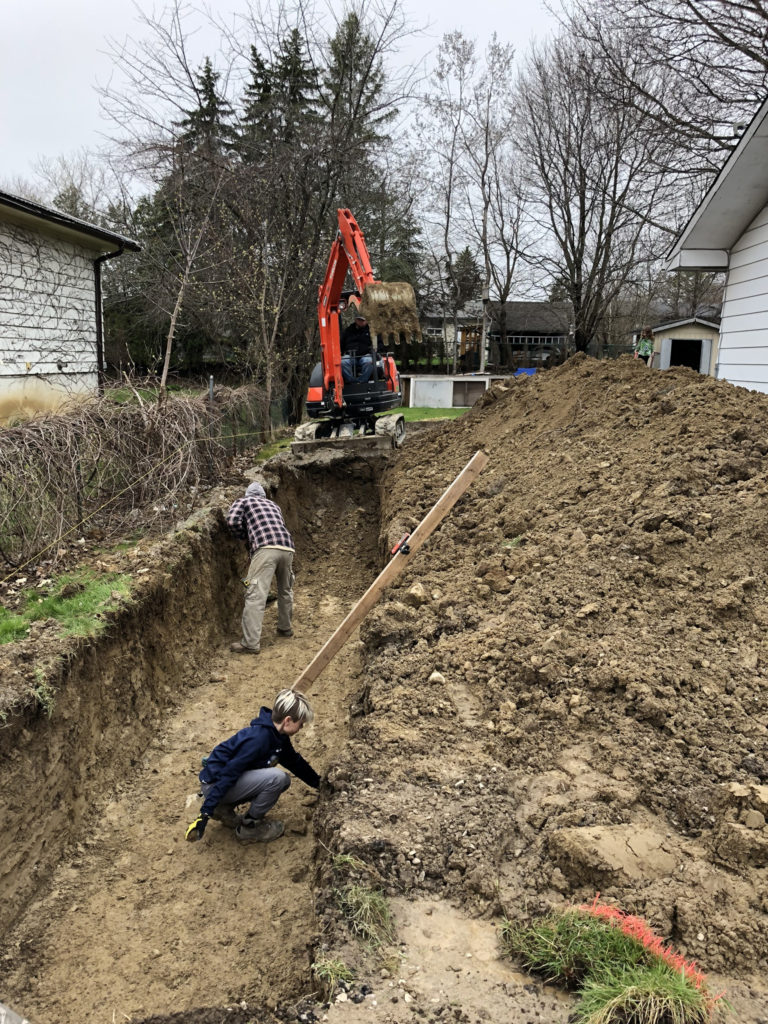
Our dig went pretty easily, nothing major in terms of surprises, so we were able to get the new foundation for the garage dug out with no snags. Next up was the footings. Again, this is something that we were able to bang our fairly quickly. We used a laser level and had the area prepped and marked out ahead of time so that everything would line up nicely.
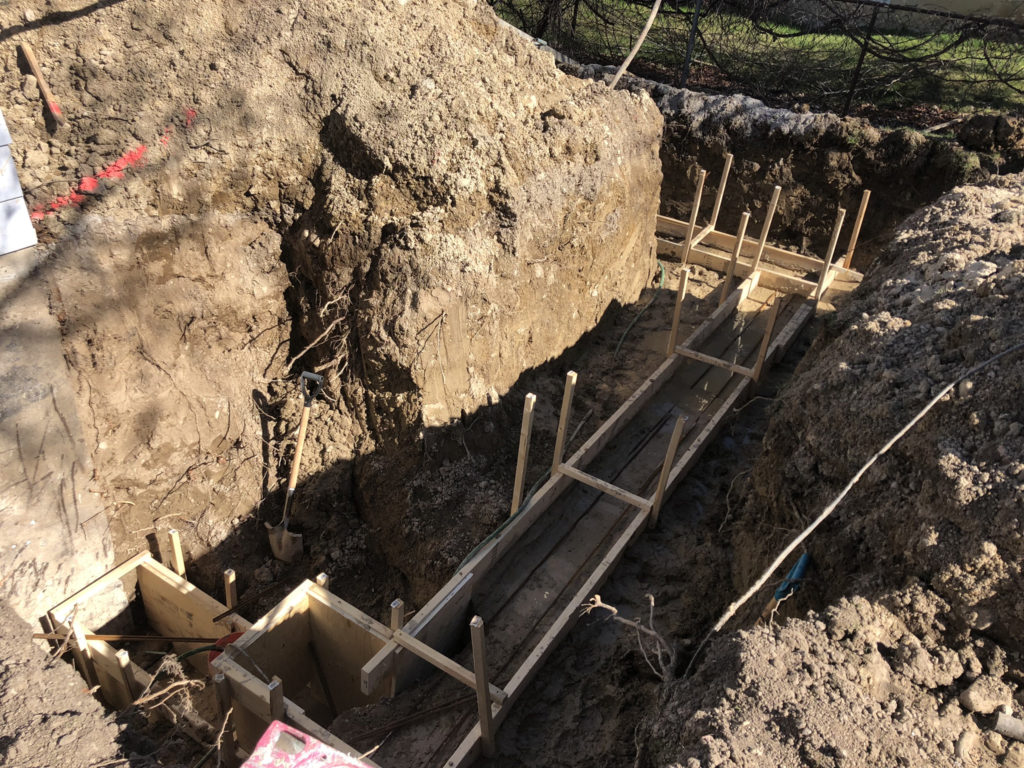
As you can see in this photo, most of our footing work was pretty straight forward, with the addition of a step down at the front and the back to tie into the existing foundation. At this point, we called in for an inspection, passed and were able to put an order in for our cement. It took about a day or so to get our cement and put it in and then we were good to call in for our final footings inspection.
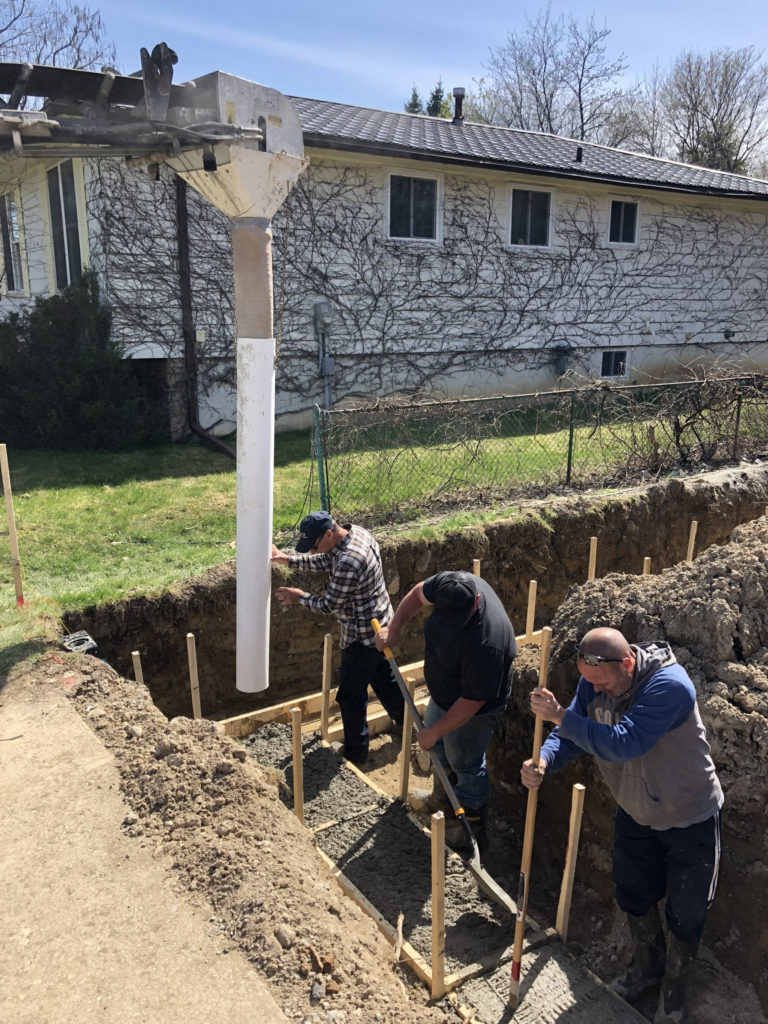
Once the inspector came by and cleared this, we brought in some forms and laid out the actual foundation walls for the garage. We probably had this done in about another day?! This process of the build can fly by pretty quickly where it’s straightforward like ours, since we only needed to do the garage exterior.
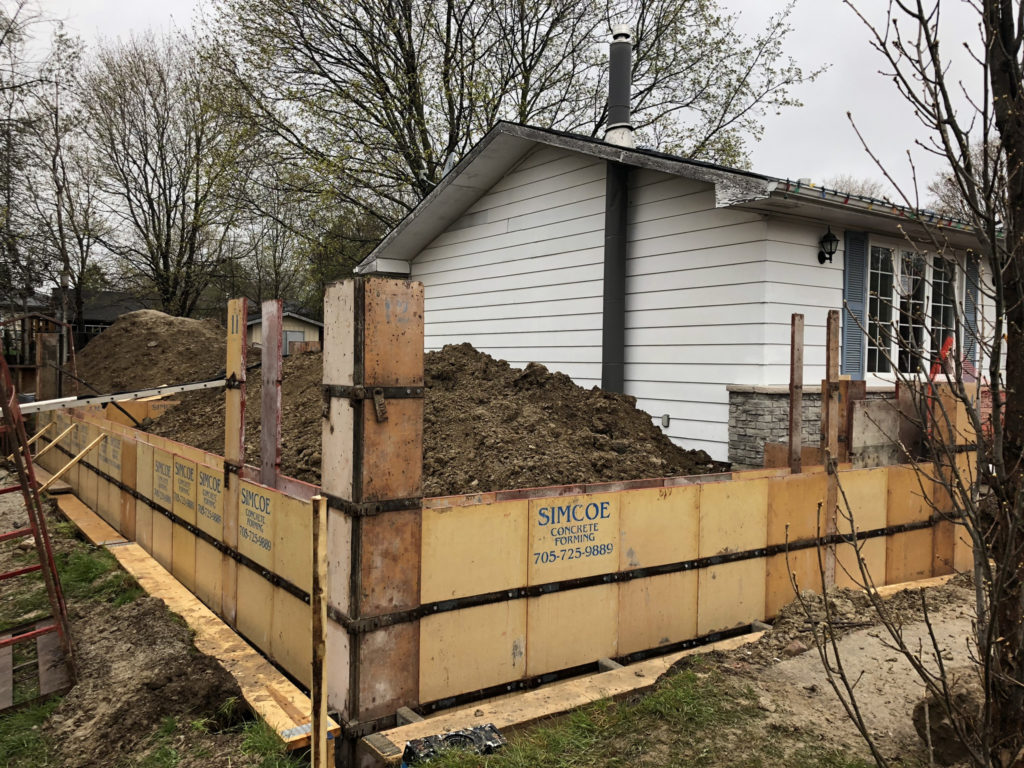
I can’t say how thankful I am for having family and friends that were here to help us out. This part of the build is my family’s expertise area, so it felt really good to be able to work with my dad on this! Again, we passed inspection on this quickly and brought in cement I think that same day.
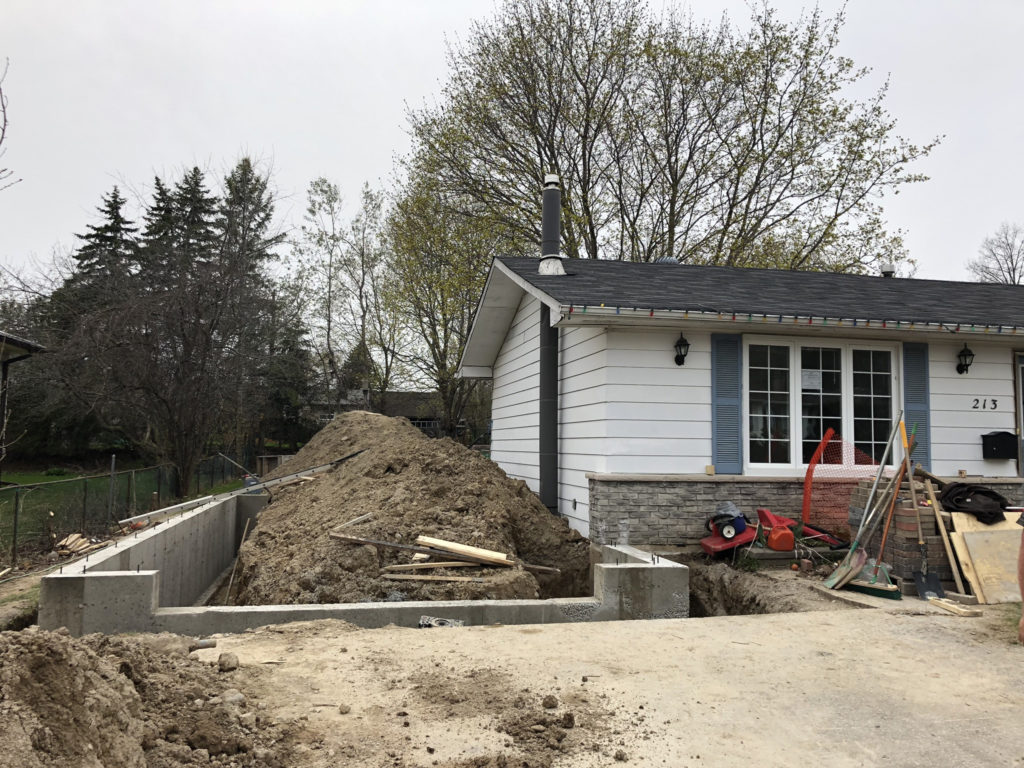
Once it was dry and cured, we were able to remove the forms and back-fill the foundation in.
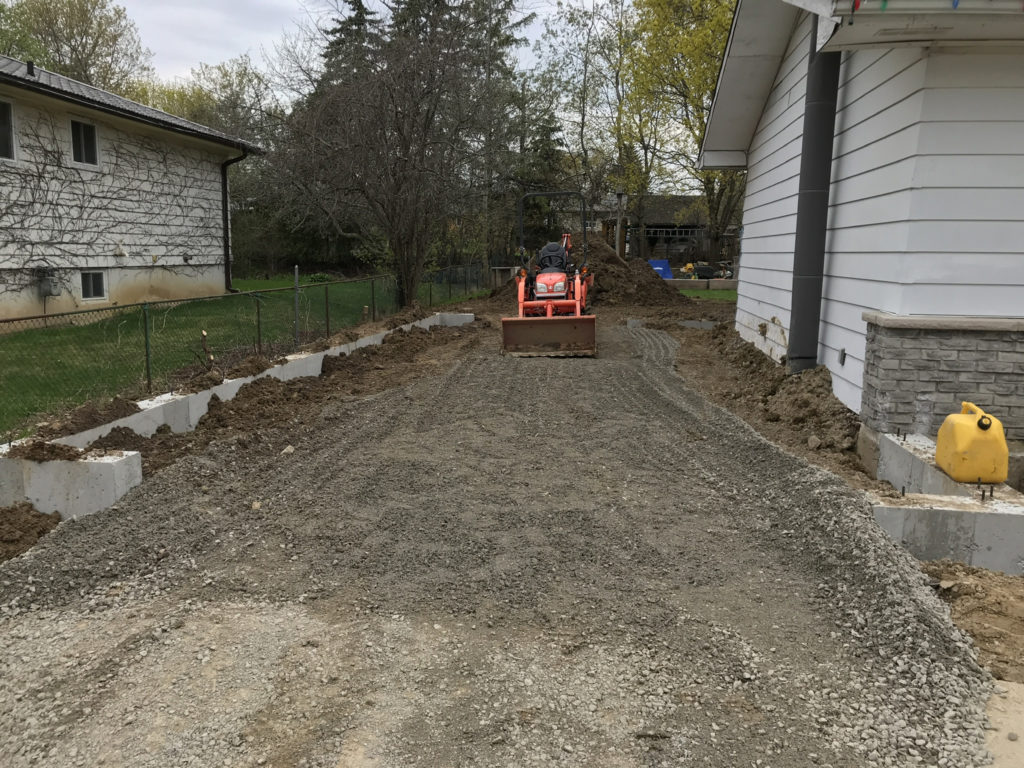
Let me say this again, but damn this part of the process can fly by! We completed this part in about 14 days or so, including the back-fill. Because of the soil type that we have (clay), we decided the best course of action would be to give it the time to settle instead of rushing to put a concrete pad in that would likely crack. Which means that next up, are the walls!

No Comments