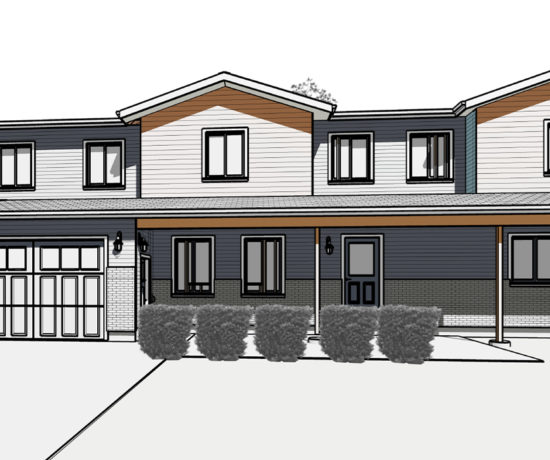
When we told friends and family about our plans to tear the roof off our house, a lot of them wondered how we would do it and where we would move to while we were doing it. Our first answer was always this one…. we plan on staying put! Some were shocked, thinking how could you stay put when your entire house is exposed to the elements!!
While others were confused, with such a big renovation, there must be a point where we’d want to pack up and move out, no?! But we were always clear, we would never fully move out or pull everything out of the house unless absolutely necessary. And we’d leave temporarily if a job needed us explicitly out of the house for safety reasons. But tearing the roof off wasn’t something that we anticipated moving out for.
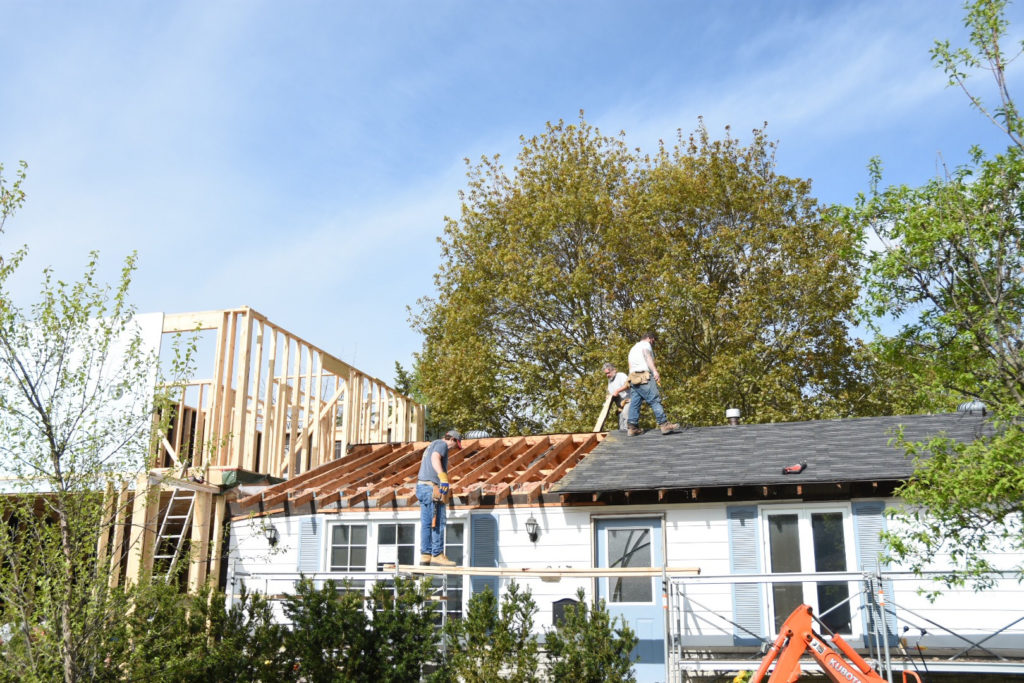
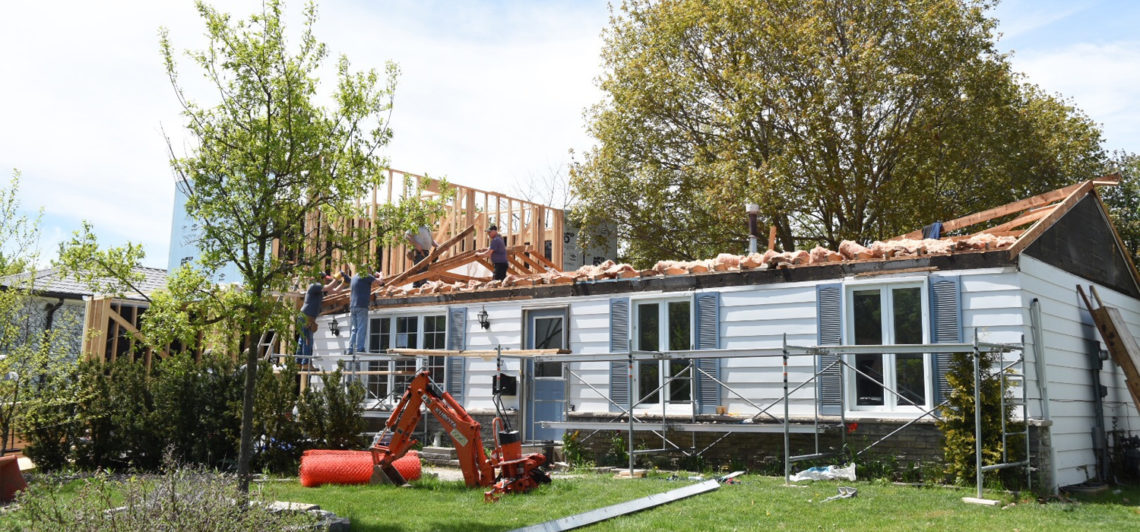
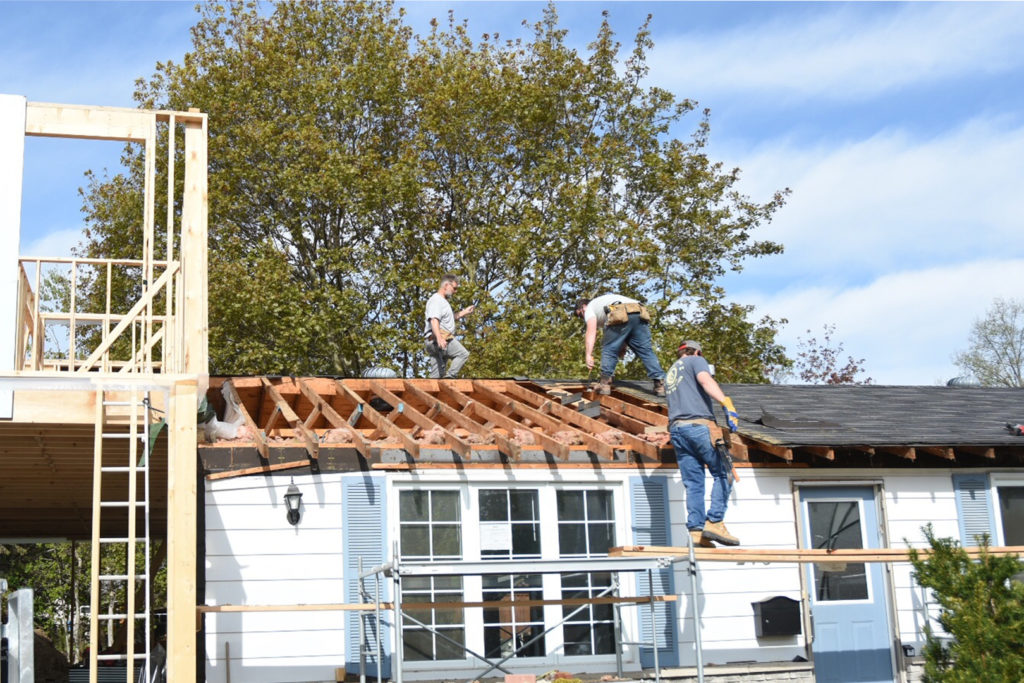
Although the one thing we did require was a lot of hands on deck! We pulled in a lot of help for these two days (yup… two days is all it took!) and we got to work. When we decided to remove the roof, we opted to leave our indoor ceiling intact. We weren’t playing around with all that and honestly had no care in redoing the ceilings in the long run. It wasn’t one of our priorities. But the ceiling was attached to our rafter ties, versus being attached to ceiling joists with roofing joists laid over top. So it was something to consider when it came to demo day.
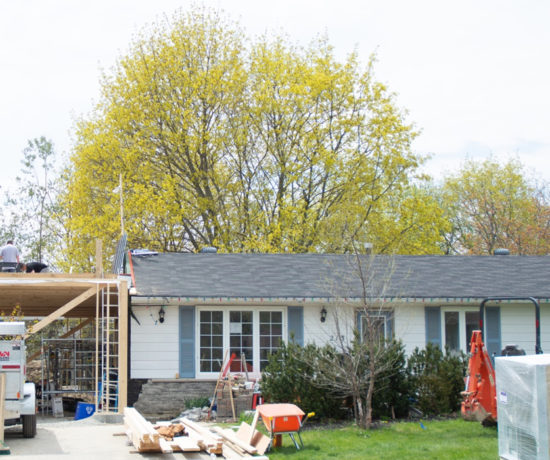
First off, we stripped the plywood and shingles off the roof as one piece and made quick work of those. If I remember correctly, the entire load fit in our trailer!! And made for one trip to the dump. Jay was happy about that since it was concerned about making multiple loads. Then we cut down the roofing joists from the rafter ties. This was pretty easy, all it took was a sawzall to cut the nails or screws holding the two together. Although this did cause a bit of interior damage when the blade came through the drywall ceiling…. nothing major but now we’d need to fix a few cuts in the ceiling here and there around the perimeter of certain rooms.
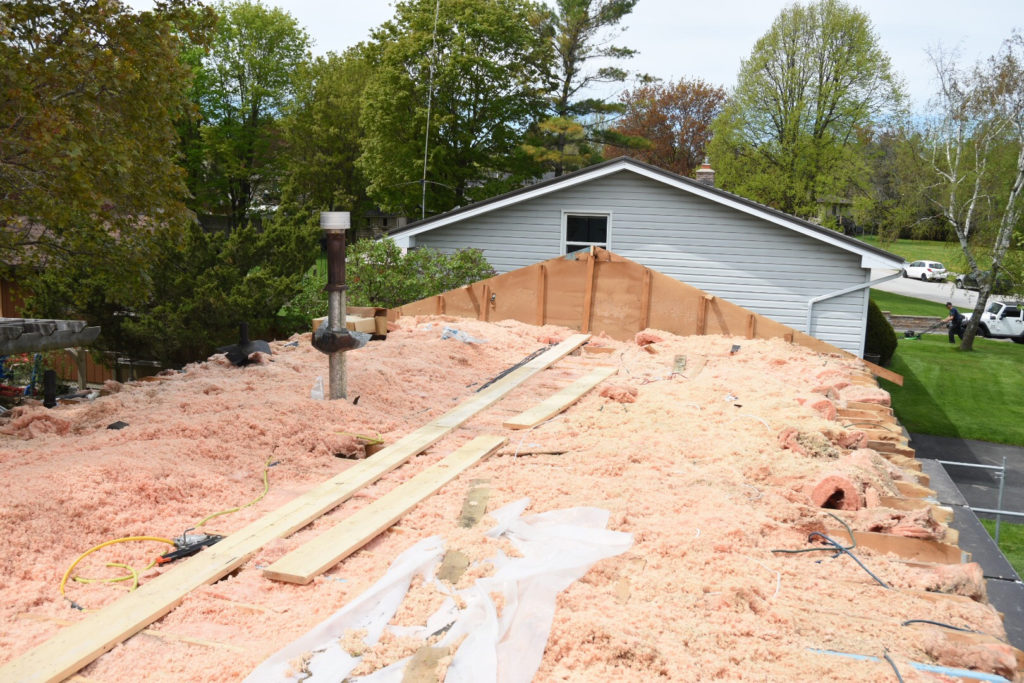
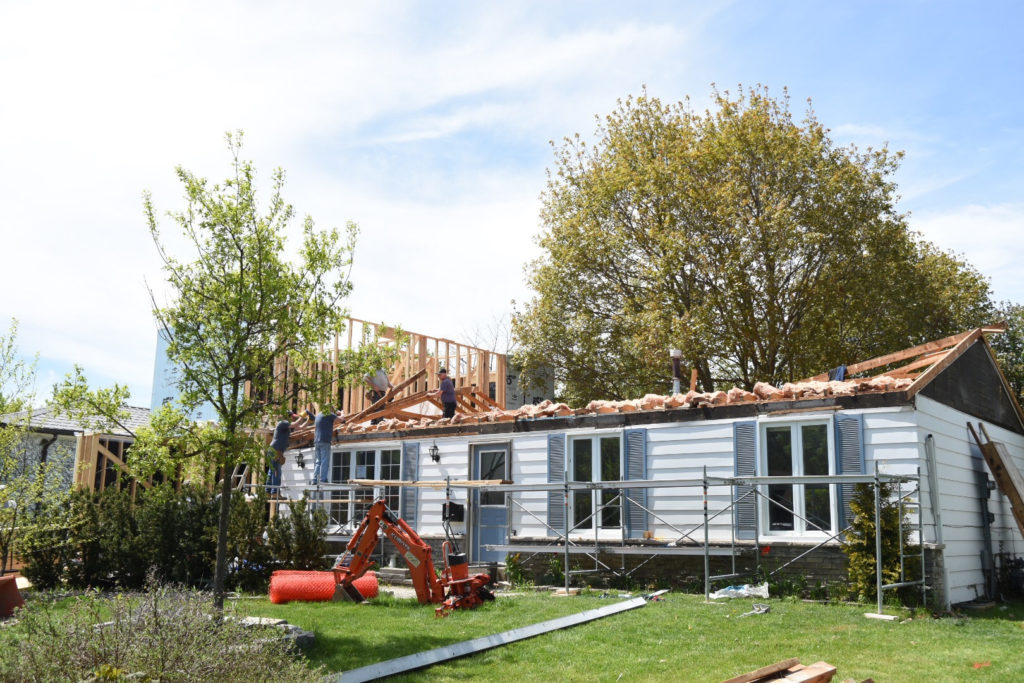
At the end of the day, we were left with this (don’t mind the side of the roof still being up… it got cut down a little later after this photo was taken). You can clearly see that we had a lot of insulation to deal with… but honestly, we the majority of it! It’s not something that will effect the house whether or not it’s there so we opted to leave what we didn’t need to touch.
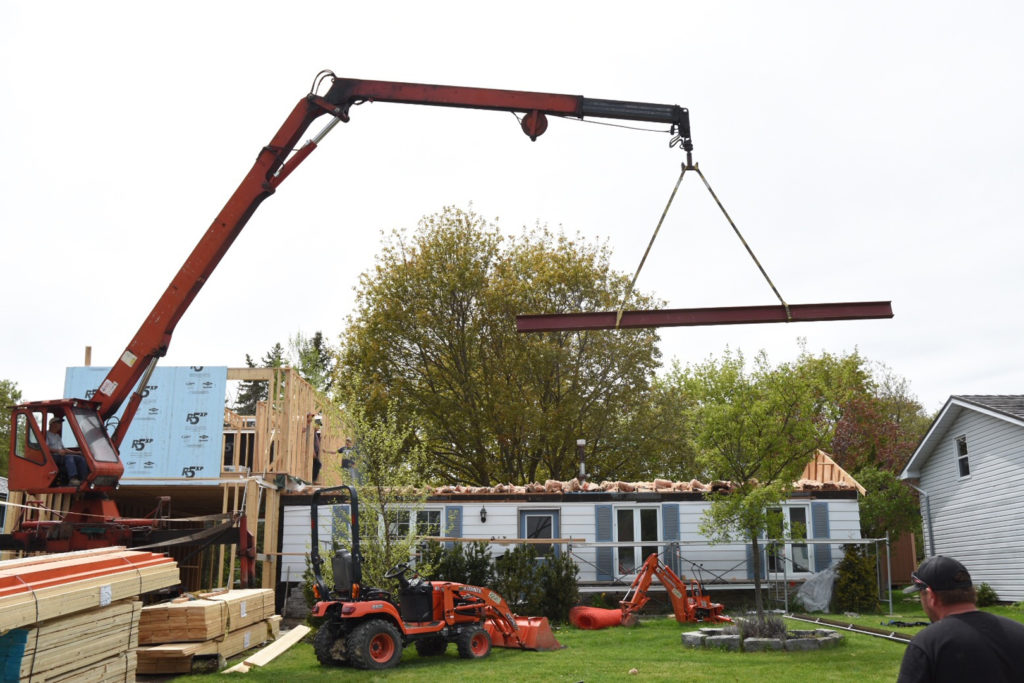
The last bit of work that happened on that day was the beam! With the open concept design we chose to go with on the main floor, we needed to place two beams in place to carry the load of the new second story, with a supporting post in the middle where they joined. My dad joined in on the fun here and helped out with a boom truck to lift those bad boys into place, once in, they were secured! And that was it for the first half of the job!!
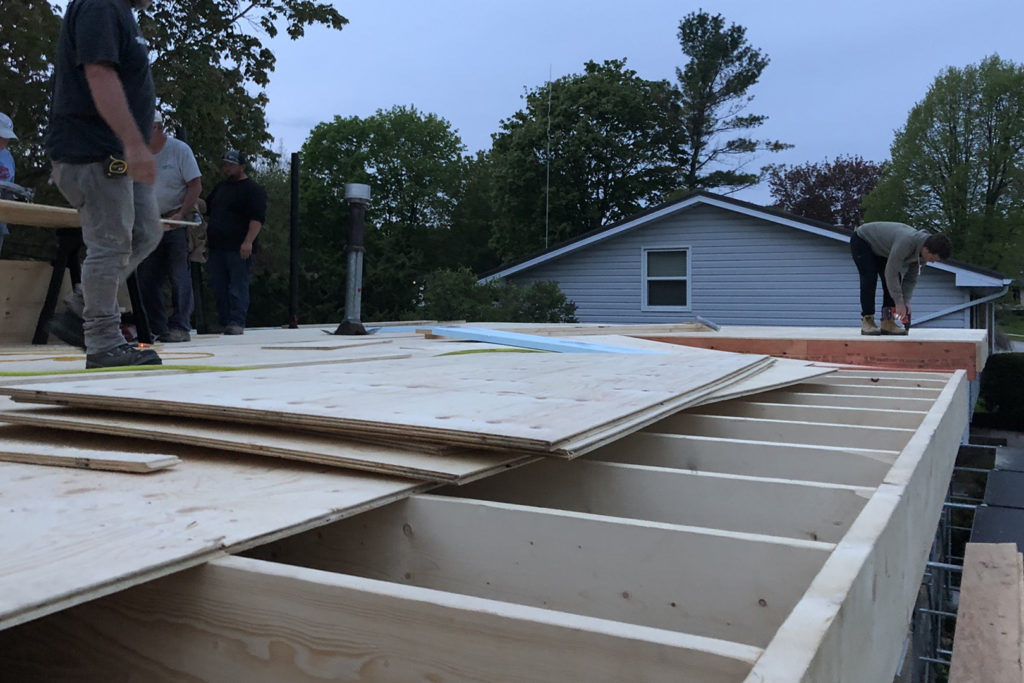
The second day was all about laying out the new floor joists and plywood, but with the forecast not in our favour for that night (they were calling for thunderstorms), we needed to get it banged out pretty quickly. Again, our family and friends showed up to give us a hang and get everything laid out and built. With the thunderstorms slowly rolling in, and knowing that this floor was essentially our temporary roof, we need it needed to be water tight. Jay decided to use a waterproofing membrane that you’d normal use to place under your roofing materiel, but that would (should!) hold up for our temporary needs. I can’t remember exactly which one of the resisto brand membranes it was, but it definitely held up through the time we needed it, which turned out to be approx 2 months.
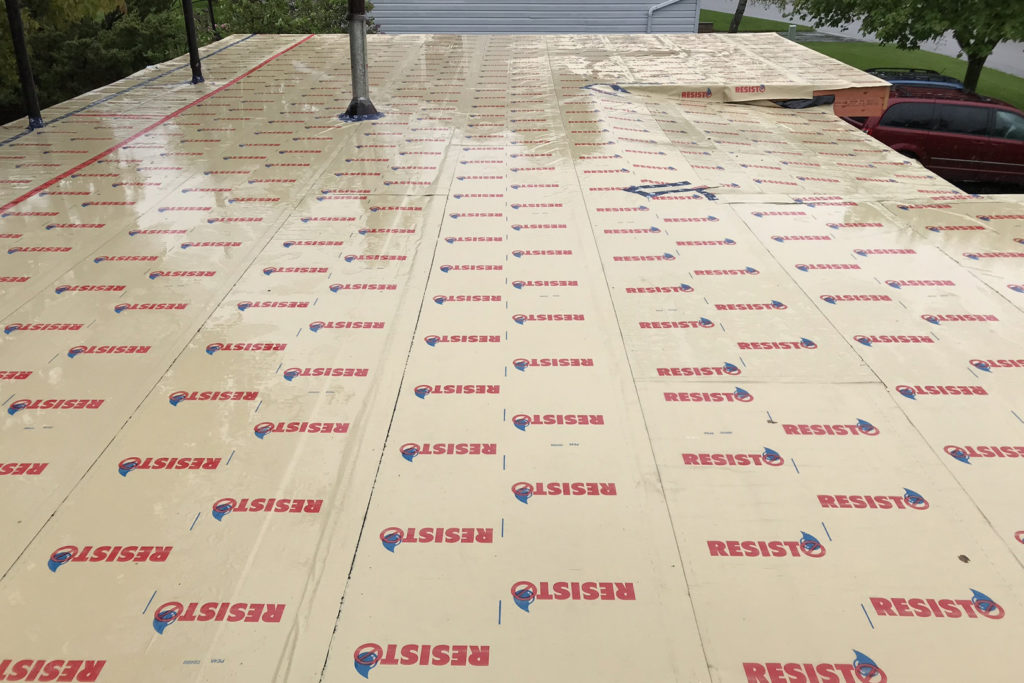
Lucky for us, we finished applying the membrane just as the rain was starting! Phew. Now it was time to relax after what would probably be our two craziest days on this build!!!

No Comments