‘The sun never knew how great it was until it hit the side of a building’ -Louis Kahn
This quote rings so true to me. A lot of people would look at a renovation and see the mess that is being created in it’s path, and for some people, it’s extremely hard to see the finished product before it comes to fruition. But to me, as we put up the first walls of what would be our new home, all I could think of was what we were creating. And every time a new day would shine it’s light on our project, the more excited I would get!
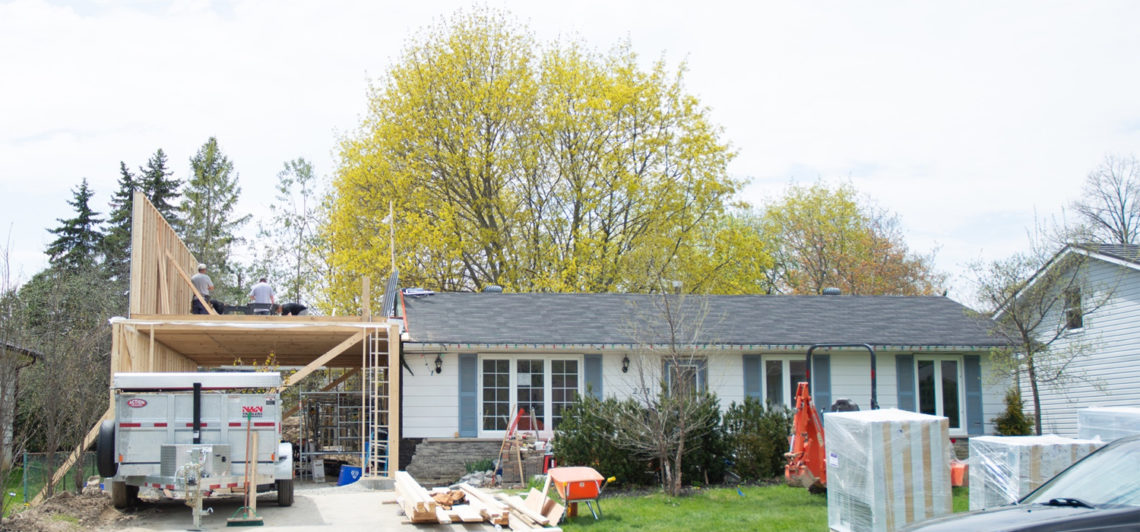
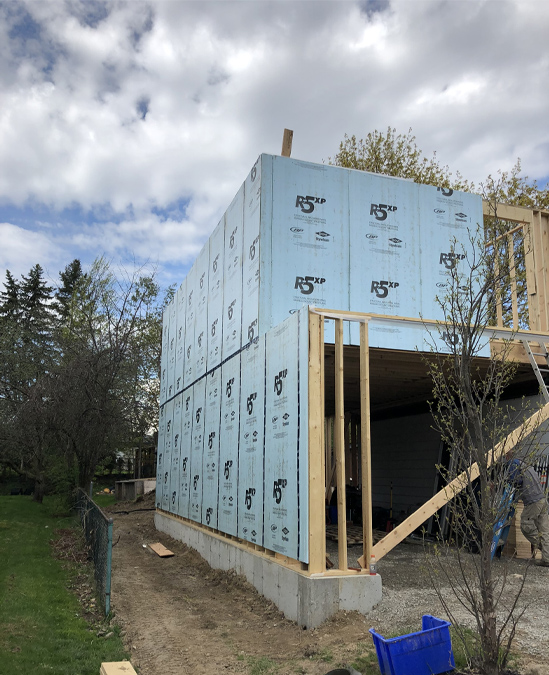
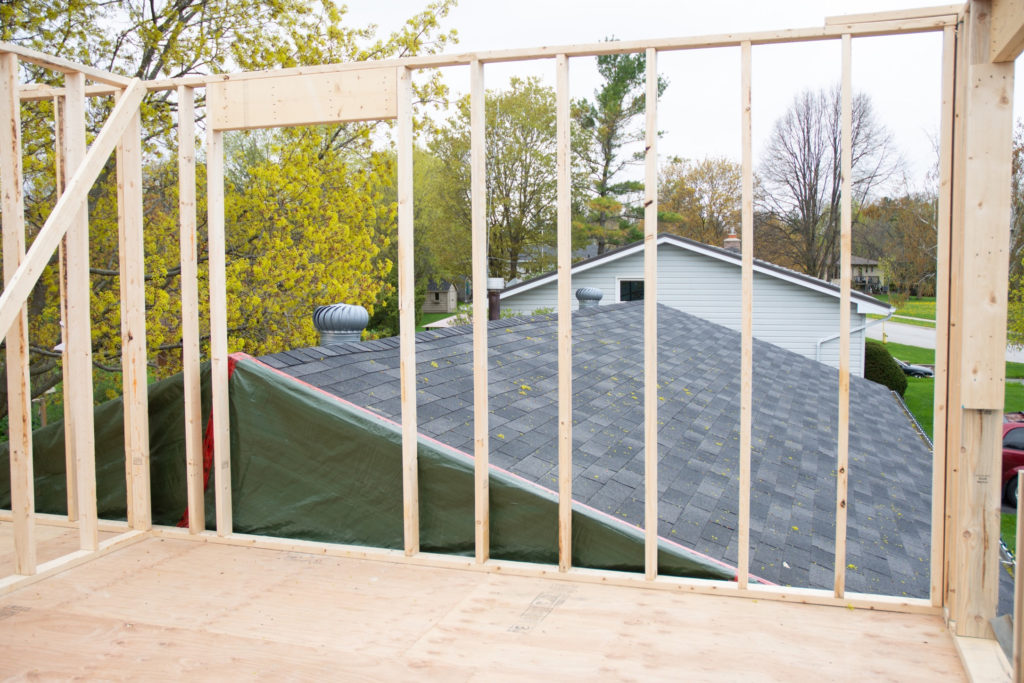
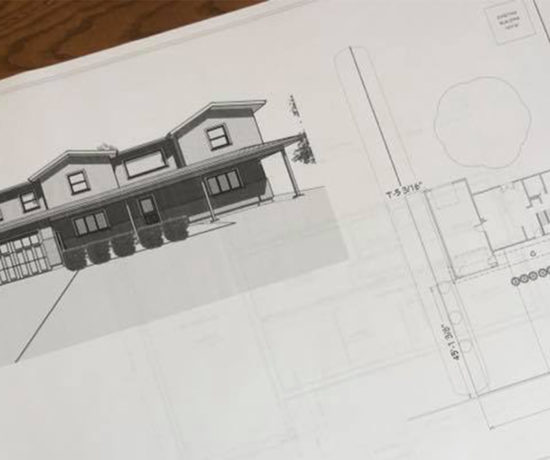
At this stage, we were only taking care of the walls in the master en-suite since we hadn’t torn off the roof yet. As with all renovations, we started with our exterior walls. One of the things we did debate was putting some windows on the south facing wall where we would eventually (most likely) place the bed. This was one of the things that was in our original drawing and in the end, once we were able to grasp a better idea of spacing, we opted to nix it.
You don’t realize how many big (and little) decisions you make over the course of a project like this, especially when you’re doing it yourself and have full control. But that was one of those decisions that had to be made along the way.
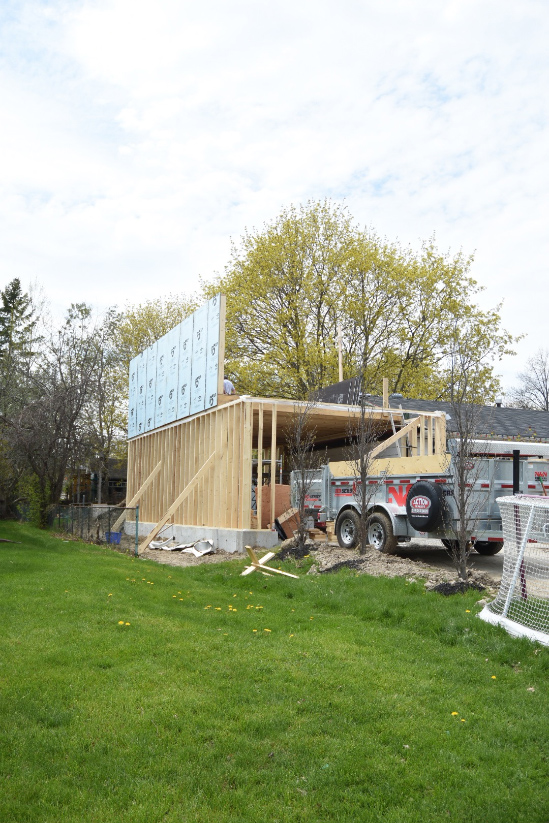
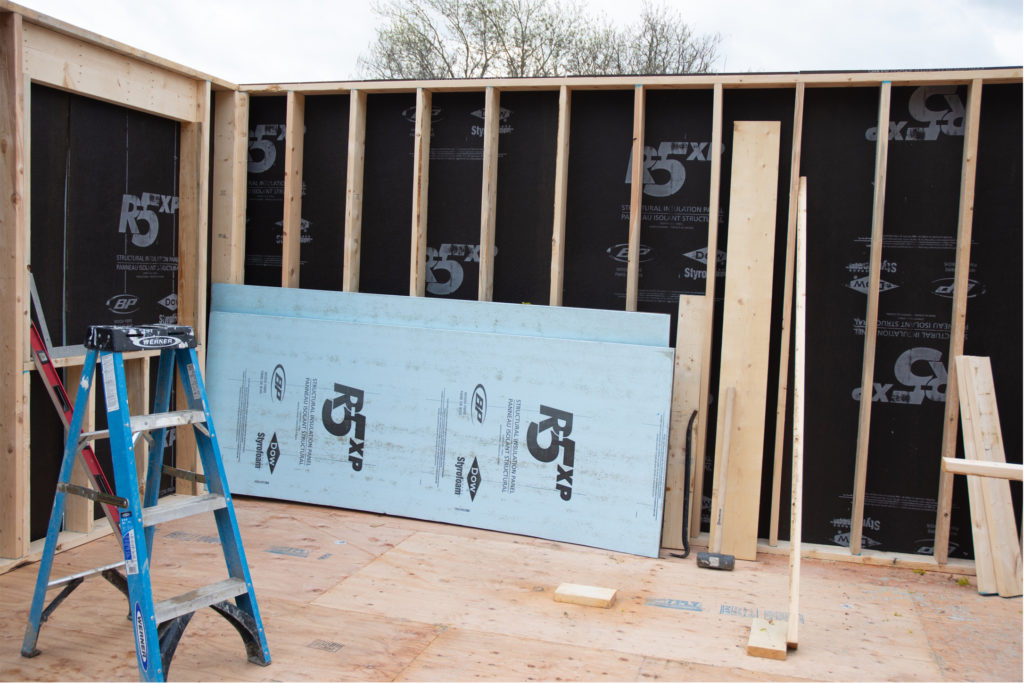
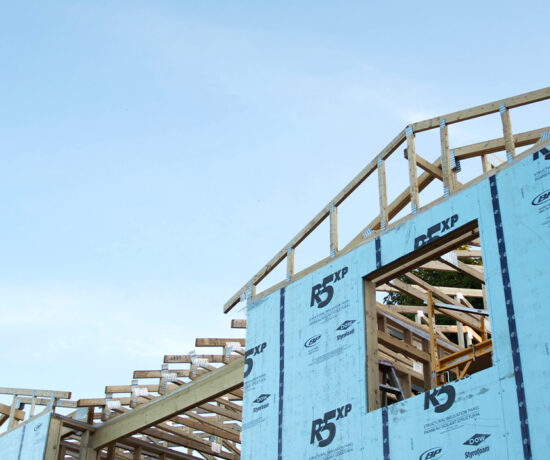
Another one said decision that concerned the immediate build was how to cover the exterior walls. Normally you would put plywood sheathing on the exterior of your walls and your insulation within there. With the new building code in effect in our area, we now needed to find a way to bump up our insulation’s R value. We then discovered structural insulation panels, which replace your traditional plywood. Essentially it’s a two layered product that has a wood fiber panel on one side and a styrofoam insulation on the other. The application process is almost the same as your plywood sheathing, the only difference is that you apply vapor barrier tuck tape to seal in your insulation.
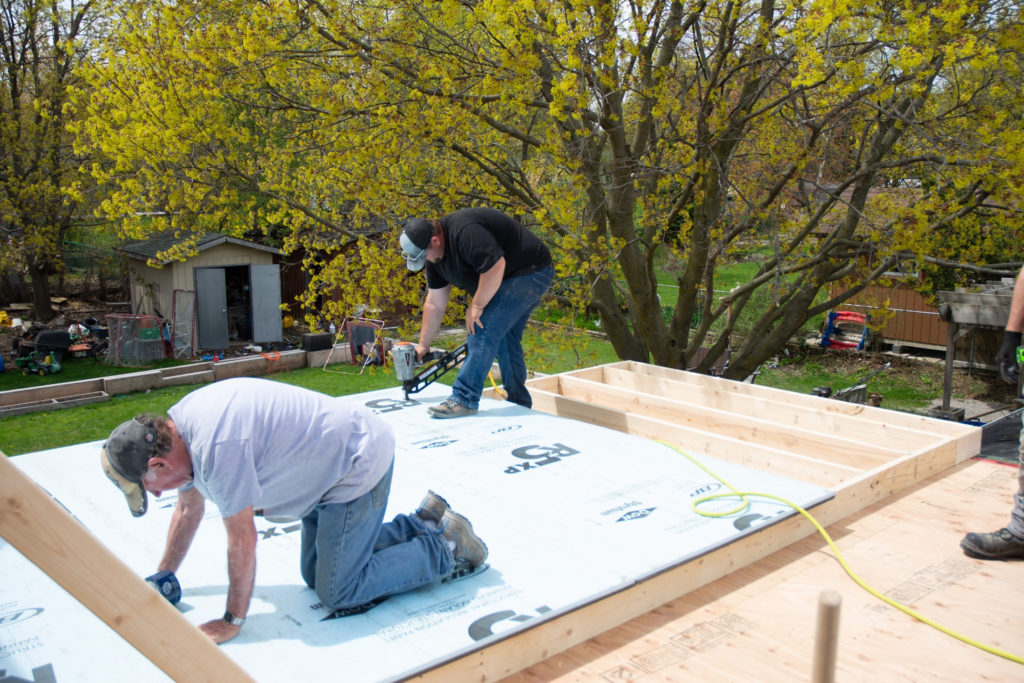
Now that the exterior walls were up, to keep the momentum going before tearing the roof off we also got the interior walls put in place.
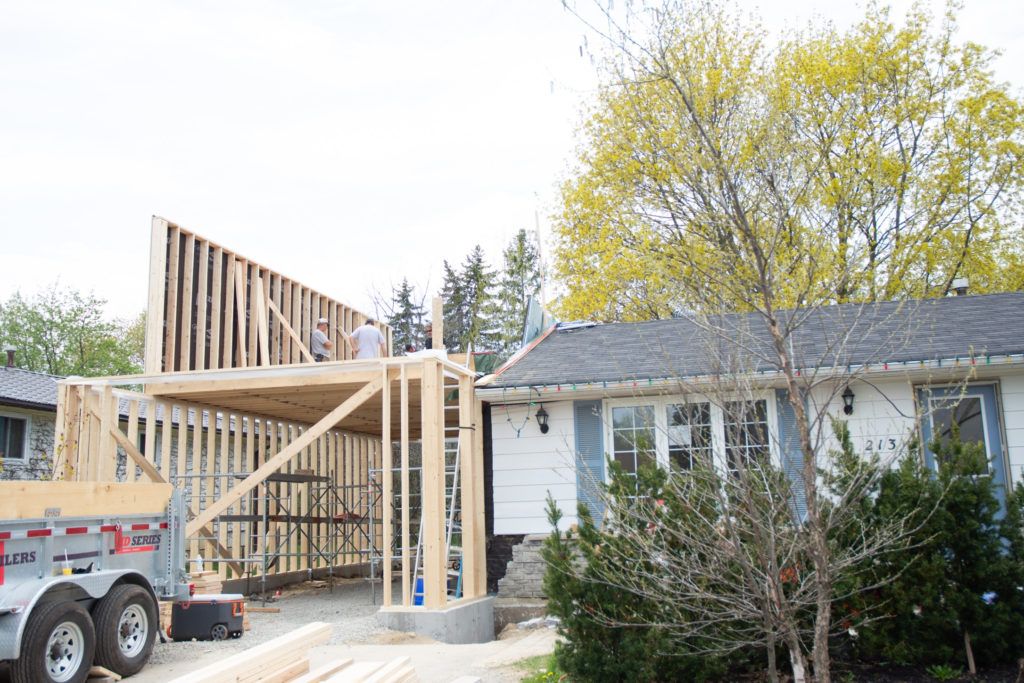
The previous picture is a view of the south facing wall, this is where we had debated putting in the extra windows. Our windows were framed out but not cut in yet. But I feel like even though it’s probably the least exciting picture to look at, this will be one of the ones with the biggest before and afters. Since we’ve never truly had a master before (the one in our current house was a tiny 11×11 bedroom with barely a closet, that also served as storage for some of the kids clothes…) I can’t wait to make this a space to relax in!
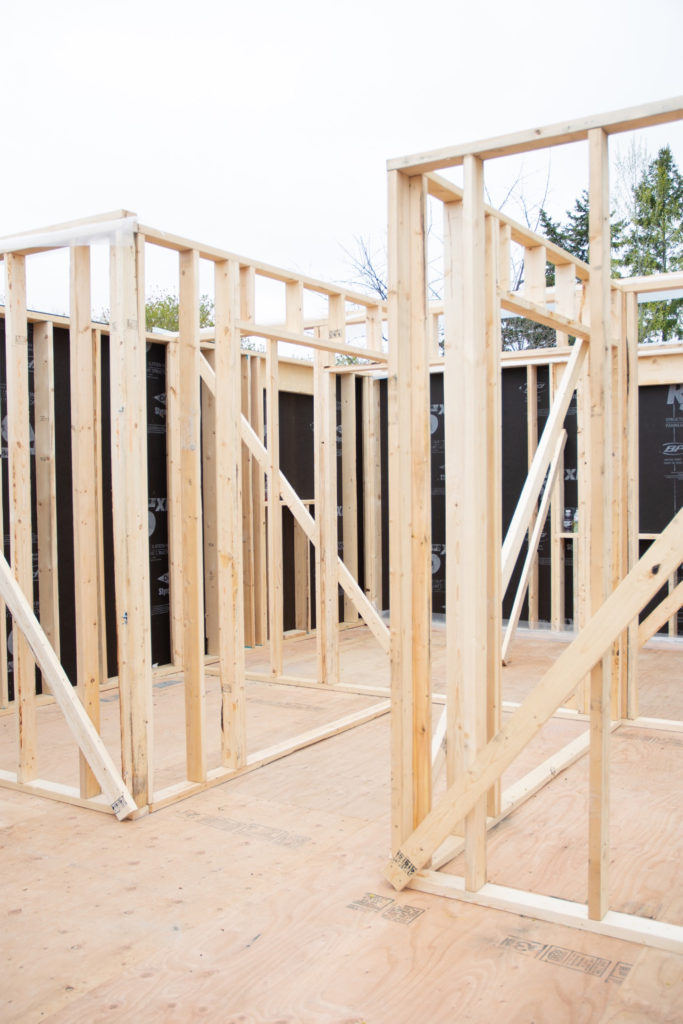
If you look to the right from there, towards the back of the house, we have two separate closets, one for each of us, with framing for pocket doors and a large en-suite bathroom at the rear. Having only had one bathroom from almost 8 years, we’re pretty excited about having a bathroom we don’t have to share with the kids!
As you’ll notice here, this last wall that I’m showing you butts right up to our roof, this is the interior wall that will be shared between bedrooms once the roof is removed. We built it none the less though since it was also a reference wall for us to build the interior walls within the master en-suite. It also gives us a jumping off point to work from once we get in there.
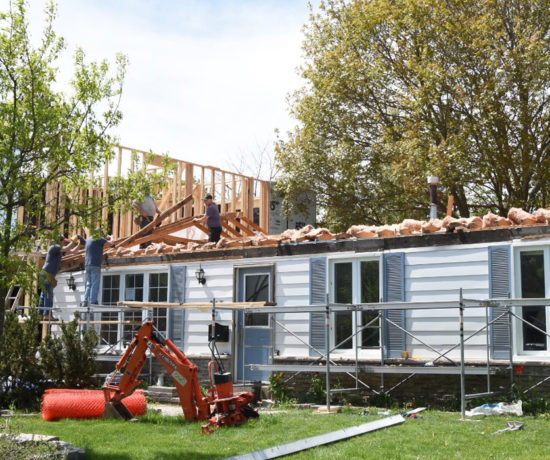
Next is the roof removal!
No Comments